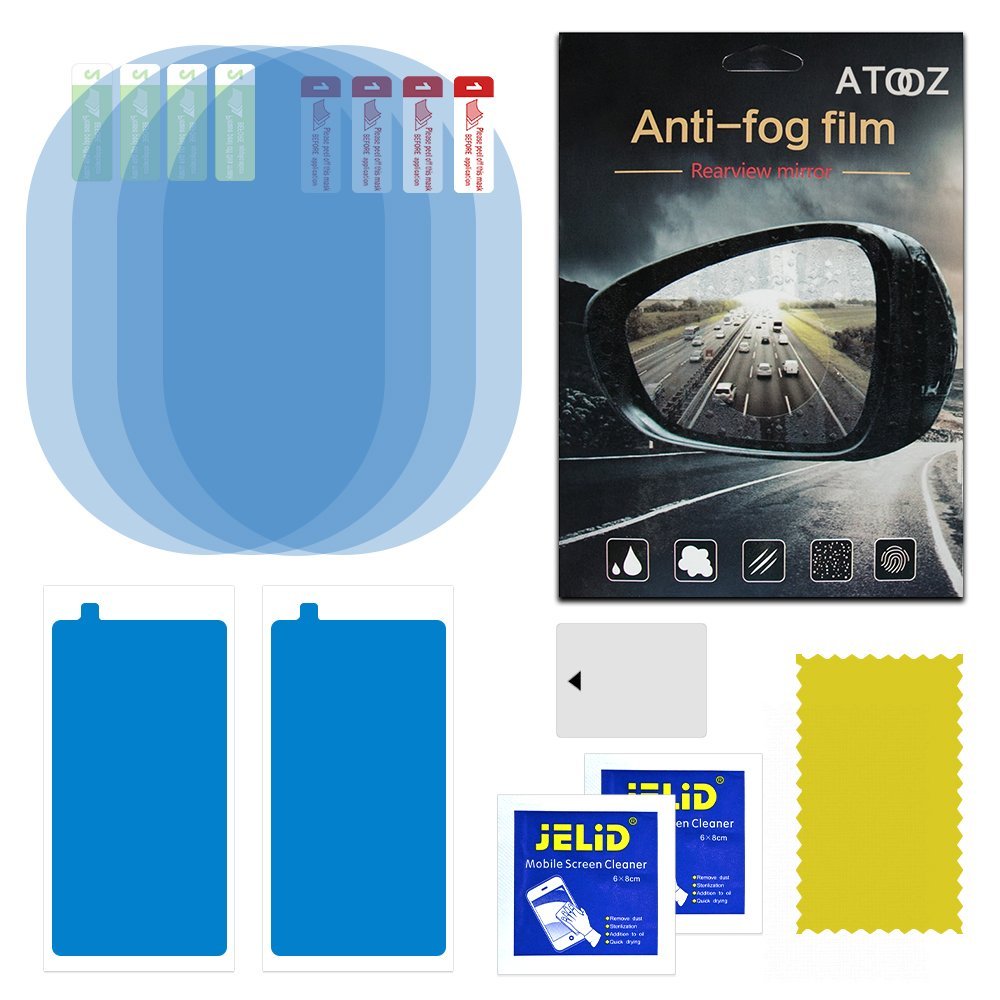
Wife bought a set of anti-fog film for her car and asked me to help her apply them to the side mirrors. Turned out to be a really bad idea.
 Firstly, it is difficult to get good clean results. If you have ever tried to apply film-based screen protectors for your smartphones or tablets, you know what I mean. You invariably get smudges or bubbles under the film, and the result does not look quite as nice as what they show in the photos. Furthermore, you are doing this outdoors, where dust is floating everywhere and invariably get caught under the film.
Secondly, and that's the most annoying part about this product, these things stick like crazy! Once they are on, they are impossible to pry off the mirror! I got a fright when I realized the little piece of cardboard that was provided did not make the film budge. Tried a credit card, and that didn't work either. Tried hair dryer on high mode, nothing. At that point, I was extremely frustrated! What kind of product-from-hell was this?
I googled frantically for a solution, and could not find anything that specifically mentioned how to get this product *off* (there were quite a few that showed you how to put it on though). A more generic search about how to get adhesives off mirrors suggested I could try a heat gun or a steam cleaner. It was the latter that I have at home, and that worked, but not without a lot of effort!
 I had to blast the steam cleaner at one corner of the film, then immediately try to pry that corner off the mirror. It took a few tries before that corner would lift, and once that happened, it was possible to peel the entire film off the mirror.
In the end, I told my wife, no more sticky-film-from-hell for her car. I applied a spray of EnduroShield that I picked up from Aldi for $10, all in under 3 minutes.
 Yes, it wears off after a few months, but it's quick to re-apply, AND easy to remove!
Secondly, and that's the most annoying part about this product, these things stick like crazy! Once they are on, they are impossible to pry off the mirror! I got a fright when I realized the little piece of cardboard that was provided did not make the film budge. Tried a credit card, and that didn't work either. Tried hair dryer on high mode, nothing. At that point, I was extremely frustrated! What kind of product-from-hell was this?
I googled frantically for a solution, and could not find anything that specifically mentioned how to get this product *off* (there were quite a few that showed you how to put it on though). A more generic search about how to get adhesives off mirrors suggested I could try a heat gun or a steam cleaner. It was the latter that I have at home, and that worked, but not without a lot of effort!

In the end, I told my wife, no more sticky-film-from-hell for her car. I applied a spray of EnduroShield that I picked up from Aldi for $10, all in under 3 minutes.

Comments
Post a Comment